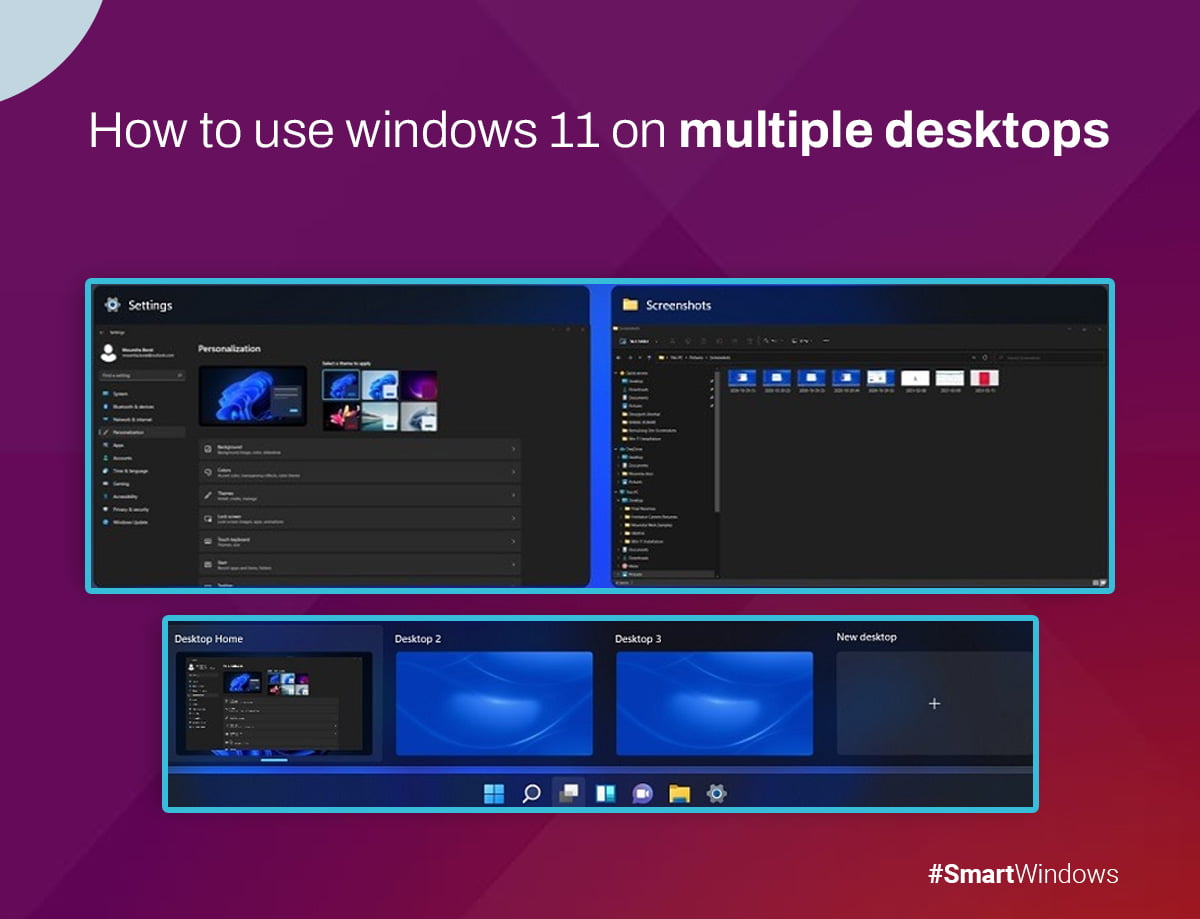
You know how chaotic your desktop can become if you work on a single monitor and juggle multiple projects. Fortunately, Windows 11 has a feature that can help – virtual desktops. Creating multiple desktops allows you to organize your work and avoid visual clutter.
Using Windows 11 virtual desktops is easy. Simply access the Task View pane and create the number of needed desktops. You can move applications to different desktops and switch between desktops in Windows 11. Keeping your workspaces separate lets you focus on each project and be more productive.
Need help with virtual desktops in Windows 11? We’ve got you covered. This article will show you how to use Windows 11 multiple desktops. So, let’s get started!
How to Add a New Desktop in Windows 11?
Virtual desktops are a great way to separate your work and personal life or organize your workspaces by project or task. Here’s how you can add a new desktop in Windows 11:
- Open “Task View.”
- Click on the Task View.
- Right-click the taskbar if you can’t find the button, and select “Taskbar settings.”
- Switch from “Task View” to “On.”
- Click the “New Desktop” button in the Task View pane. This will create a new virtual desktop that you can switch to whenever necessary.
To create a new desktop even faster, use the keyboard shortcut Windows Key + Ctrl + D. In a swift moment, a new desktop materializes, bypassing the need to access the Task View pane.
How Can You Switch Between Different Desktops in Windows 11?
Having several desktops set up makes switching between virtual desktops a breeze. You may view thumbnail previews of your active desktops by selecting the Task View button on your taskbar. To switch between desktops in Windows 11, follow these steps:
- Click on its preview.
- To access the left and right desktops, enter Windows Key + Ctrl + Left Arrow and Key + Ctrl + Right Arrow.
Windows 11 multiple desktop shortcuts can speed up switching between virtual desktops and save time.
How to Rename Your Desktops in Windows 11?
Undoubtedly, a crowded desktop can be stressful, especially when you have work to complete. Windows 11 offers convenient features to enhance organization and productivity. One such tip is to rename your desktops for a clear and efficient workspace. To do this:
- Enter the Task View pane.
- Right-click the desktop and choose “Rename.”
You can give your desktop a new name that accurately describes its contents, making it simple to quickly determine which desktop has what you need without opening each one individually.
How to Customize Desktop Backgrounds in Windows 11?
The ability to customize your desktop backgrounds is another fantastic feature of Windows 11. This can help visually distinguish your workspaces, which can help maintain focus on the task at hand. To modify your desktop wallpaper:
- Right-click and choose “Select a background.”
- Pick an image from your existing collection or browse the alternate choices available.
How Can You Move Windows Between the Desktops in Windows 11?
Moving windows between desktops is also a breeze in Windows 11. Effortlessly navigate to the desired application by accessing the Task View pane, where a simple hover over the corresponding desktop allows you to select and relocate it seamlessly.
- Click and glide the application to the preferred location.
- Choose “Move to” and meticulously designate the desired desktop for a seamless transition.
That’s it! Keeping your applications organized and moving them around depending on the task you are working on is quite simple in Windows 11.
How to Move APPs Between Desktops?
Windows 11 allows you to have multiple desktops, and when you open an app, it appears only on your active desktop. This feature makes creating a desktop with specific apps convenient by opening a new desktop, switching to it, and launching the desired apps there. If you relocate an app to a different desktop, you can easily move it using Task View. Let’s see how:
- Click on the Task View on the taskbar. This will open the Task View pane, which displays thumbnails of your desktops.
- Locate the app you want to move and click and drag it.
- While dragging the app, move your cursor to the desktop thumbnail where you want to place the app.
- Drop the app on the desktop thumbnail. The app will then switch to the new desktop.
How Can You Close Desktops in Windows 11?
Finally, when you’re finished with a virtual desktop, you can quickly close it out in Windows 11.
- Hover over the desktop until an X symbol emerges in the corner.
- Click it to close the desktop.
Or, you can open Task View with Windows Key + Tab, choose the virtual desktop you want to close, and press the Delete key.
Conclusion
Windows 11 has excellent tools that will keep your workspace effective and organized. You can easily maintain focus and productivity while using your computer by renaming desktops, changing backgrounds, moving windows, and compact desktops.


conventionalism xyandanxvurulmus.CVgpAw115Zvg
Your article helped me a lot, is there any more related content? Thanks!